

Nurturing your flowering plants with the right nutrients can transform your garden into a vibrant oasis. But did you know that the best fertilizer might already be in your kitchen or garden waste? Homemade fertilizers are cost-effective and eco-friendly, making them a win-win for both your blooms and the planet.
Benefits of a Homemade Fertilizer for Flowering Plants and Trees
Creating your own fertilizers for flowering plants isn’t just a rewarding hobby, it’s a smart gardening practice with numerous benefits. By opting for homemade fertilizers, you’re stepping into a world of garden health that’s both cost-effective and environmentally friendly. Let’s delve deeper into why making this shift can transform your gardening experience.
Cost Savings stand out as the most immediate benefit. The ingredients for homemade fertilizers often come from kitchen scraps, yard waste, or easily accessible natural materials, meaning you can significantly reduce your gardening expenses. This approach not just spares your wallet but also promotes a sustainable reuse cycle within your gardening practice.
The Environmental Advantage of homemade fertilizers cannot be overstated. Commercial fertilizers often contain chemicals that can runoff into waterways, causing harm to aquatic life and polluting our water sources. By using organic waste, you’re not only nourishing your garden, but you’re also contributing to the reduction of landfill waste. It’s a small step for you, but a giant leap for the environment.
Moreover, homemade fertilizers offer a Tailored Nutrient Mix. Each garden is unique, and the needs of your flowering plants can greatly vary. When you concoct your own fertilizer, you can tailor the nutrient mix according to the specific needs of your plants. Whether your flowers crave more nitrogen, phosphorus, or potassium, you can adjust the ingredients accordingly, ensuring that your garden flourishes to its fullest potential.
Lastly, embracing homemade fertilizers fosters a Deeper Connection with Your Garden. The act of recycling and creating something beneficial for your plants lets you engage with your garden on a more intimate level. Observing your plants’ response to different nutrients, adjusting your mixtures, and seeing the vibrant results foster a closer bond and a more enriching gardening experience.
Common Ingredients Found in Homemade Fertilizers
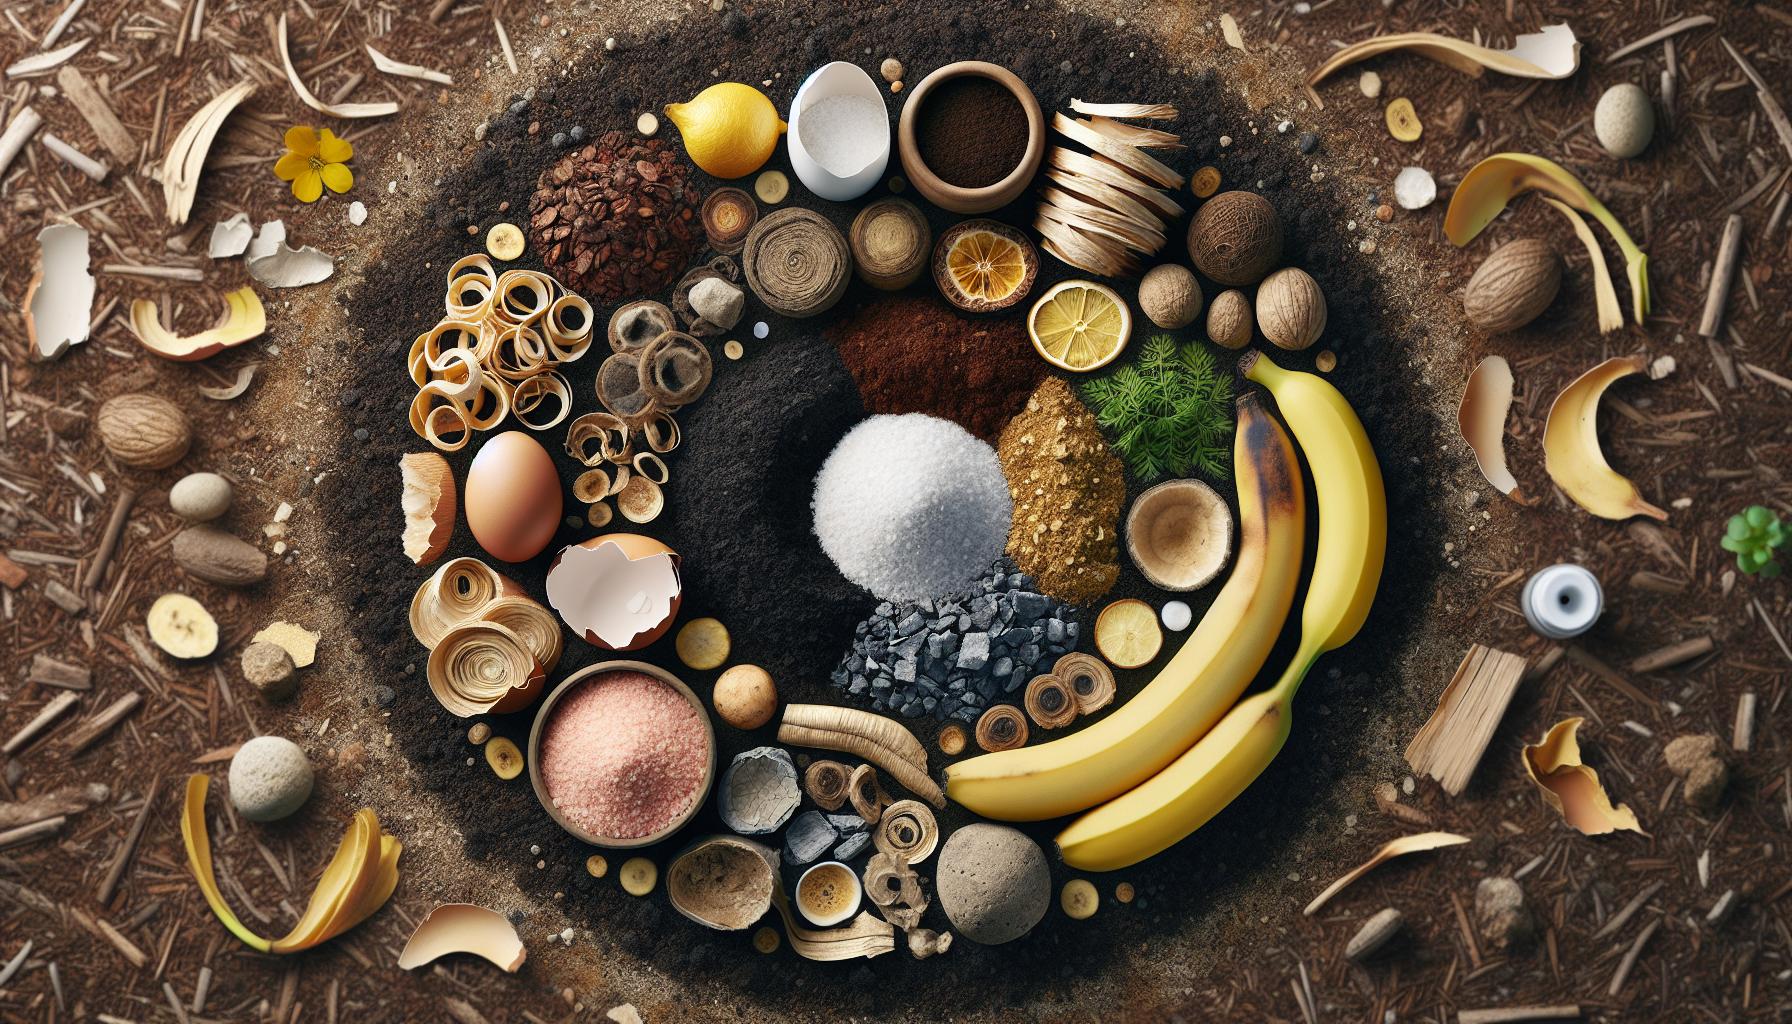
When learn how to make the best homemade fertilizer for flowing plants and trees, you’ll find a treasure trove of ingredients right at your fingertips. These ingredients not only nourish your flowering plants but also promote sustainable gardening practices. Here’s a rundown of some of the most common components you can start using today.
Coffee Grounds: Perfect for acid-loving plants, coffee grounds are a rich source of nitrogen, a crucial nutrient for plant growth. They also improve soil structure and attract earthworms, nature’s tillers.
Eggshells: Crushed eggshells are an excellent calcium source, vital for cell growth in all plants. They can help prevent blossom end rot in tomatoes and other susceptible vegetables.
Banana Peels: Potassium is the key nutrient here, essential for overall plant health and flower development. Banana peels decompose quickly, releasing this nutrient into the soil.
Ashes: If you have a wood-burning fireplace, don’t discard the ashes. Wood ash contains potassium and calcium carbonate, acting as a liming agent to reduce soil acidity.
Epsom Salt: Magnesium sulfate, known as Epsom salt, is fantastic for roses and tomatoes. It promotes chlorophyll production and can help prevent magnesium deficiency.
Compost: Perhaps the most versatile, compost enriches the soil with a diverse range of nutrients. It also improves soil structure, moisture retention, and microbial activity.
By incorporating these ingredients into your homemade fertilizer, you’re not just feeding your plants; you’re enhancing your garden’s ecosystem. Here’s a quick glance at what each ingredient offers:
| Ingredient | Key Nutrient |
|---|---|
| Coffee Grounds | Nitrogen |
| Eggshells | Calcium |
| Banana Peels | Potassium |
| Ashes | Potassium and Calcium Carbonate |
| Epsom Salt | Magnesium |
| Compost | Varied Nutrients |
Each component serves a unique purpose: promoting healthy root systems, aiding in fruit development, or ensuring lush, vibrant blooms. By understanding the role of each, you can create a tailored fertilizer mix that meets the specific needs of your flowering plants. Remember, the best homemade fertilizer for flowering plants is the goal is to maintain a balanced nutrient supply, avoiding the pitfalls of over-fertilization which can harm more than help your garden thrive.
Recipes for DIY Homemade Fertilizers
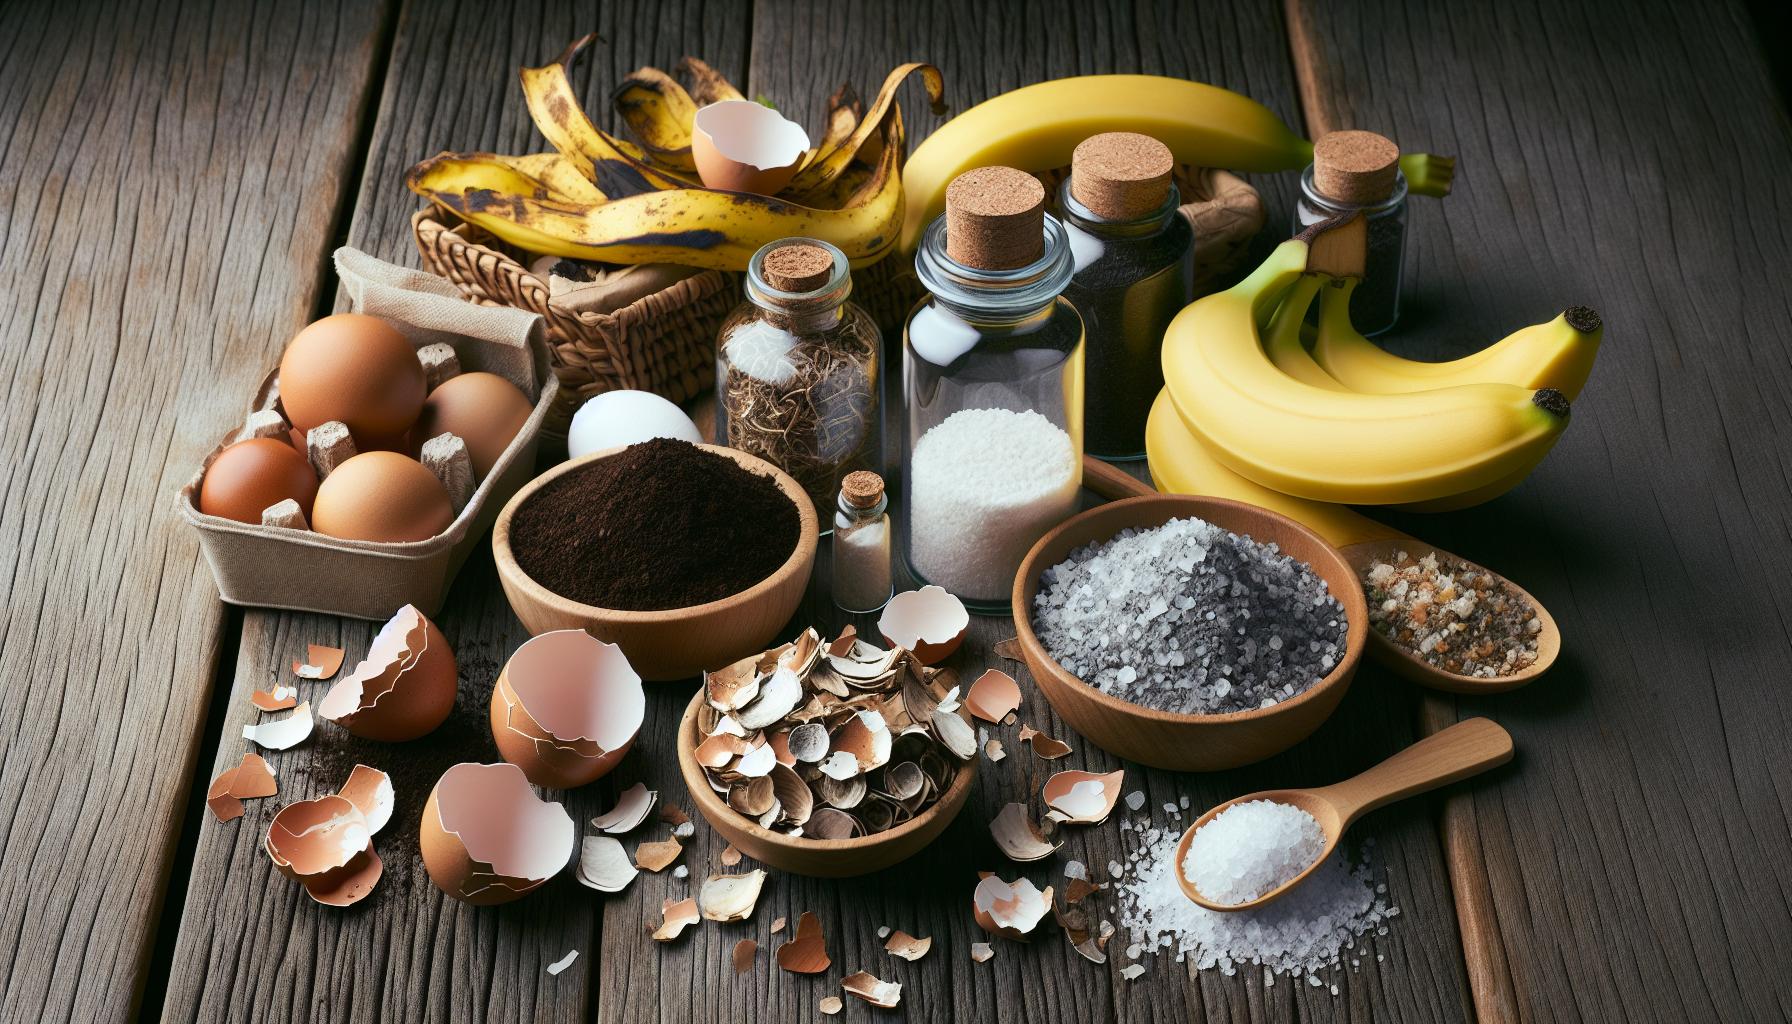
Making the best homemade fertilizer for flowing plants and trees is easier than you think. When diving into the world of homemade fertilizers, you’ll find that mixing the right ingredients can also yield fantastic results for your flowering plants. Here are a few recipes to get you started on this green journey.
Simple Coffee Ground Fertilizer
Do not throw away your morning coffee grounds; they’re gold for your garden. Mix them directly into the soil or add them to your compost. Coffee grounds slowly release nitrogen—a vital nutrient for flowering plants. However, use them sparingly to avoid nitrogen burn.
Eggshell Tea
Rich in calcium, eggshells can work wonders in your garden. Rinse and crush the eggshells, then boil them in a gallon of water. Let this mixture steep overnight. The next day, strain it and use the water to give your plants a calcium boost. This “tea” can help prevent blossom end rot in plants like tomatoes and peppers.
Banana Peel Potassium Boost
Banana peels are a fantastic source of potassium, another crucial nutrient for plant health. Chop the peels and bury them a few inches in the soil around your plants. Alternatively, soak peels in water for 48 hours, strain, and use this potassium-rich water for your plants.
Wood Ash Fertilizer
If you have a fireplace, wood ash can be a valuable source of potassium and calcium carbonate. Sprinkle a handful of ash around your plants to fertilize the soil. However, remember that ash can raise the soil’s pH. It’s best used sparingly unless you know your soil is acidic.
Magnesium Supplement with Epsom Salt
Epsom salt is a great way to add magnesium. Mix 2 tablespoons of Epsom salt in 1 gallon of water and use it to water your plants monthly. This is especially beneficial for roses and tomatoes, promoting lush foliage and vibrant blooms.
By integrating these homemade fertilizers into your gardening routine, you’ll not only boost plant health but also contribute to a more sustainable gardening practice. Remember, the key is to observe how your plants respond and adjust your fertilization strategy accordingly.
Application and Best Practices for Homemade Fertilizers
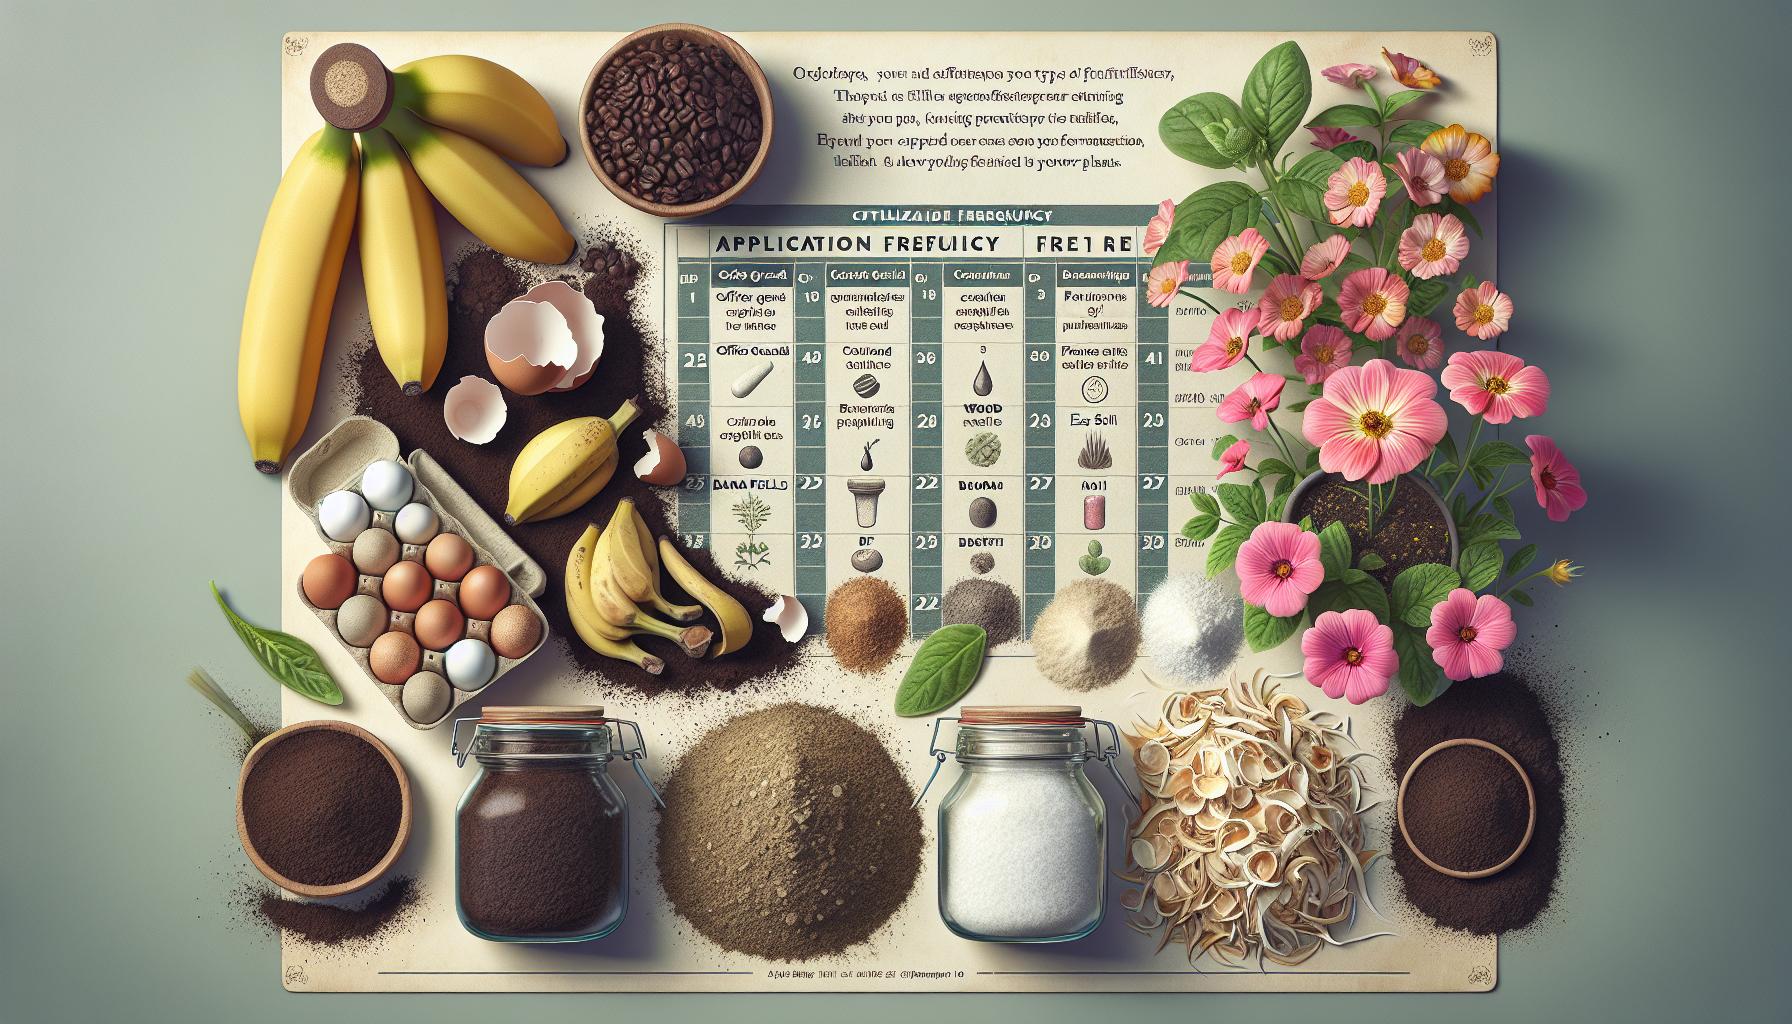
Applying homemade fertilizers to your flowering plants requires precision and care. Unlike commercial options, these natural concoctions can vary in nutrient concentration. Starting with a diluted solution ensures you don’t overwhelm your plants. For instance, using the eggshell tea, begin with a ratio of 1 portion of eggshell solution to 3 parts water. Observe how your plants react over a week and adjust accordingly.
Frequency of application plays a crucial role in the health and blooming of your flowers. Generally, a bi-weekly schedule is sufficient for most flowering plants during their growing season. However, it’s important to consider the specific needs of each plant. Some, like roses, might benefit from a weekly feeding, especially during peak blooming periods.
Here’s a quick guide on how often to apply certain homemade fertilizers:
| Homemade Fertilizer | Application Frequency |
|---|---|
| Coffee Grounds | Every 2 Weeks |
| Eggshell Tea | Every 2-4 Weeks |
| Banana Peel Water | Once a Month |
| Wood Ash Solution | Sparingly, Every 4-6 Weeks |
| Epsom Salt Solution | Every 4 Weeks |
Tailoring homemade fertilizers to the specific needs of your flowering plants enhances their effectiveness. For instance, if you notice signs of magnesium deficiency, such as yellowing leaves between the veins, an application of Epsom salt solution might be necessary. Conversely, for plants showing slow growth despite adequate water and sunlight, a nitrogen-rich coffee ground fertilizer could provide the needed boost.
Always inspect your plants closely before and after application of any homemade fertilizer. This monitoring helps in identifying not just growth improvements but also any adverse reactions, like leaf burn from over-fertilization. By adjusting the fertilization schedule and compositions based on your observations, you’ll ensure that your flowering plants receive the right nutrients at the right time for optimal growth and blooming.
Tips for Maximising the Effectiveness of Homemade Fertilizers

When you’re mixing up your own batch of homemade fertilizers, it’s important to remember that precision and adaptation are key to getting the best results for your flowering plants. Here are several tips to help you maximise their effectiveness:
- Test Your Soil: Before you start, it’s crucial to know what your soil is lacking. A simple soil test can reveal nutrient deficiencies, pH level issues, and more. This knowledge allows you to tailor your homemade fertilizers to meet your garden’s specific needs.
- Apply at the Right Time: Timing is everything. Apply your homemade fertilizers early in the morning or late in the afternoon to avoid the evaporation that can occur during the warmer parts of the day. This ensures that your plants absorb more nutrients.
- Dilute Properly: Homemade fertilizers can vary greatly in concentration. If you’re using liquids like compost tea or diluted fish emulsion, make sure they’re properly diluted. This prevents nutrient burn, which can damage your plants.
- Monitor Plant Response: After application, keep an eye on your plants’ responses. Signs of improvement such as increased flowering or vibrant foliage indicate that your homemade fertilizer is working. Conversely, if you notice yellowing leaves or stunted growth, you may need to adjust your mixture.
- Rotate Fertilizers: Just like humans, plants benefit from a varied diet. Rotating between different types of homemade fertilizers can provide a more balanced nutrient profile over time. For instance, alternating between a nitrogen-rich coffee ground mix and a phosphorus-rich bone meal concoction can promote both green growth and flowering.
Following these steps helps ensure that your labor of love doesn’t go to waste. Remember, gardening is a continual process of learning and adaptation. By paying attention to the unique needs of your flowering plants and adjusting your homemade fertilizer applications accordingly, you’re setting the stage for a vibrant, flourishing garden.
Conclusion
With the right approach and a bit of dedication, you’re well on your way to nurturing a vibrant and flourishing garden. Remember, the key to success lies in understanding your plants’ unique needs and responding with the appropriate homemade fertilizers. By testing your soil, applying fertilizers judiciously, and observing your plants’ reactions, you’ll create an environment where your flowering plants can thrive. So, embrace the journey of trial and improvement. Making the best homemade fertilizer for flowering plants and trees isn’t actually that hard. And, your garden will thank you with a bounty of blooms that’ll be the envy of every green thumb in the neighbourhood. Happy gardening!
Frequently Asked Questions
What is the main benefit of using homemade fertilizers for flowering plants?
Homemade fertilizers provide a sustainable and cost-effective way to supply essential nutrients to flowering plants, promoting optimal growth and blooming.
How can one maximise the effectiveness of homemade fertilizers?
Maximising the effectiveness involves testing soil for deficiencies, applying fertilizers at the right time, diluting them properly, monitoring plant responses, and rotating fertilizers for balanced nutrition.
When is the best time to apply homemade fertilizers to flowering plants?
The best time to apply fertilizers is during the plant’s active growth phases, typically in the early morning or late afternoon to enhance nutrient absorption and reduce evaporation.
Why is it important to dilute homemade fertilizers before application?
Diluting homemade fertilizers helps prevent root burn and other damage by ensuring the nutrients are not too concentrated for the plants to absorb safely.
How can one tell if a flowering plant is responding positively to a homemade fertilizer?
Positive responses from flowering plants include increased growth rate, richer foliage colour, and more vibrant and abundant blooms, indicating effective nutrient uptake.